Layout
Layout controls the base layout of the application. This layout is similar to tabs
configuration except it contains a single Pane or Split. It is configured inside your theme.ron.
The layout can use any non-focusable Pane (these currently are AlbumArt, Lyrics, ProgressBar, Header and Tabs)
and additionally must contain exactly one special TabContent pane which will display content of the
currently active tab configured in tabs. The pane sizes can be either a percent
value ie. "100%" or size in terminal cells (rows or columns, depending on the split direction) ie. "5".
Components
Section titled “Components”Components are reusable blocks of panes. They can be used to define some part of UI once and reuse it in multiple tabs, layout
and even included in other components without having to copy the definition to each tab separately. They can also be used to
restructure your layout and tabs to make them more readable.
For example, here we define three components: state, title and volume. They are then used in a fourth component called header.
Click to show components definition
components: { "state": Pane(Property( content: [ (kind: Text("["), style: (fg: "yellow", modifiers: "Bold")), (kind: Property(Status(StateV2())), style: (fg: "yellow", modifiers: "Bold")), (kind: Text("]"), style: (fg: "yellow", modifiers: "Bold")), ], align: Left, )), "title": Pane(Property( content: [ (kind: Property(Song(Title)), style: (modifiers: "Bold"), default: (kind: Text("No Song"), style: (modifiers: "Bold"))) ], align: Center, scroll_speed: 1 )), "volume": Pane(Property( content: [ (kind: Property(Widget(Volume)), style: (fg: "blue", modifiers: "Bold")), ], align: Right )), "header": Split( direction: Horizontal, panes: [ (size: "23", pane: Component("state")), (size: "100%", borders: "LEFT | RIGHT", pane: Component("title")), (size: "23", pane: Component("volume")), ], ),}The header component is then used in the layout.
Click to show layout definition
layout: Split( direction: Vertical, panes: [ ( size: "4", borders: "ALL", pane: Component("header"), ), ( size: "3", borders: "ALL", pane: Pane(Tabs), ), ( size: "100%", borders: "ALL", background_color: "red", pane: Pane(TabContent), ), ( size: "3", borders: "ALL", pane: Component("progress_bar"), ), ]),Examples
Section titled “Examples”Below are some examples you can use as pointers how to configure the layout.
Album Art in the header
Section titled “Album Art in the header”Very similar to the default layout except progress bar is moved to the top and album art is moved to the left of the header.
Click to show theme.ron
layout: Split( direction: Vertical, panes: [ ( size: "8", pane: Split( direction: Horizontal, panes: [ ( size: "21", pane: Pane(AlbumArt), ), ( size: "100%", pane: Split( direction: Vertical, panes: [ ( size: "5", pane: Pane(Header), ), ( size: "1", pane: Pane(ProgressBar), ), ( size: "3", pane: Pane(Tabs), ), ] ) ), ] ), ), ( size: "100%", pane: Pane(TabContent), ), ],),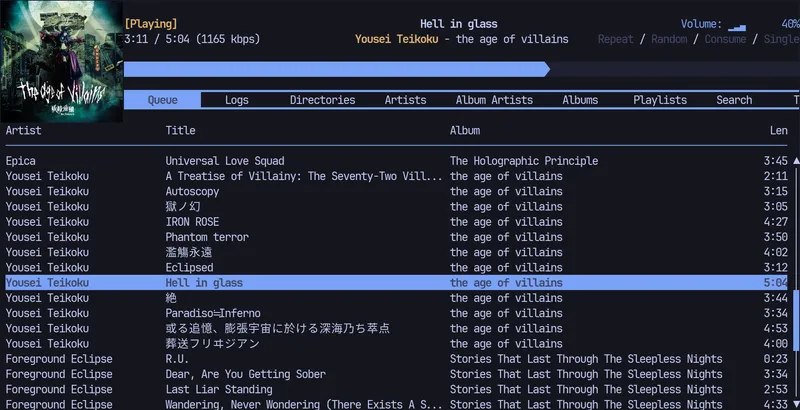
Default layout
Section titled “Default layout”This is the default layout you get when starting rmpc without any configuration.
Click to show theme.ron
layout: Split( direction: Vertical, panes: [ ( pane: Pane(Header), size: "2", ), ( pane: Pane(Tabs), size: "3", ), ( pane: Pane(TabContent), size: "100%", ), ( pane: Pane(ProgressBar), size: "1", ), ],),
Default layout with borders
Section titled “Default layout with borders”This is the default layout, but with borders around all layout panes except the tabs.
Click to show theme.ron
layout: Split( direction: Vertical, panes: [ ( size: "4", borders: "ALL", pane: Pane(Header), ), ( size: "3", pane: Pane(Tabs), ), ( size: "100%", borders: "ALL", pane: Pane(TabContent), ), ( size: "3", borders: "ALL", pane: Pane(ProgressBar), ), ],),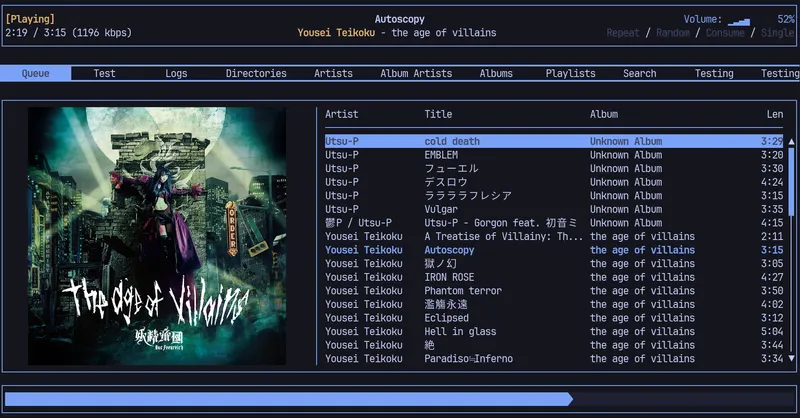
No layout, just the tab’s content
Section titled “No layout, just the tab’s content”It is also possible to not use the base layout at all and simply display just the content of the currently active tab.
layout: Pane(TabContent),